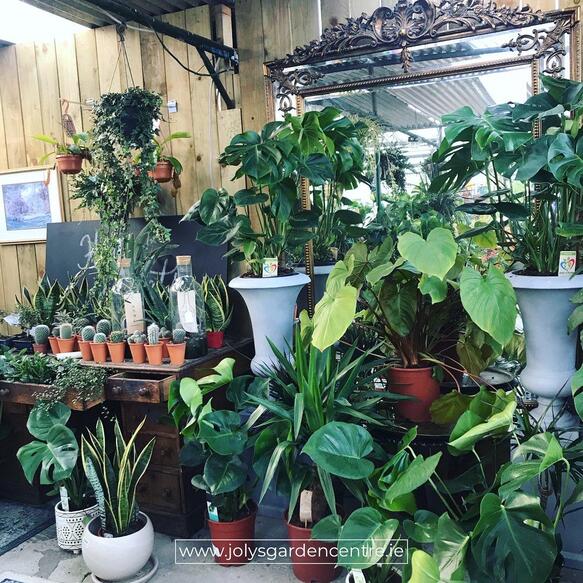
First we are going to discuss benefits of repotting a houseplant:If you are in doubt about leaving your houseplant in the nursery pot, please don't do that. Repotting indoor plants has many advantages. Growers put their plants in small pots to reduce transport costs. But if the plant is no longer with the grower, it needs more space. In this article we will explain how to repot a houseplant.  Stimulate Growth When a houseplant is repotted, the plant's growth is stimulated. Some plants are very sensitive to repotting and quickly grow in size after repotting. Larger water buffer Easy to care houseplants are growing in popularity, so that care is less effort from your houseplant you can so that the house plant in a larger pot put the water buffer larger, so they do not so often pour need. The larger amount of soil will also absorb more water if you accidentally water too much. This is important as no water should collect at the bottom of the pot as this can lead to root rot. Nutrient If you use fresh potting soil when repotting, the houseplant will have enough nutrients for the next 6 weeks and you will not need to fertilize during this time. The pot makes the plant Repotting a houseplant in a plant pot is not only better for the plant but will also make the plant look a lot nicer. Most of the time, the original breeding pot is too small compared to the plant. The plant will attract more attention in a larger pot. Suffocation The roots of indoor plants also need air to keep them healthy. Fresh earth is often not so impressed and therefore allows more air to pass through. When repotting, the soil becomes loose again so that the houseplant can breathe again. When to repot It is best to repot a houseplant in spring. This time of year is most suitable because the plant gets energy again from the rising temperature and higher light intensity. This will help the houseplant to grow new roots. If you bought a houseplant in winter, you can repot it immediately, but you should be careful not to damage the roots, as the plant will not recover as quickly. You should actually repot flowering plants only after the flowering time, as repotting can be a shock for the plant. Repotting during the flowering period can greatly reduce the flowering period. How to repot: Choose a pot that is at least 20% larger than the last pot. A house plant in a nursery pot with a diameter of 27 cm, for example, needs a pot with a diameter of at least 32 cm. The water level indicator should be the same height as the pot. Fill the pot with soil until the root ball comes approx. 1 to 2 cm below the edge of the pot. Remove the nursery pot. Place the houseplant in the middle of the pot. Fill the pot with the soil. You can possibly cover the pot with decorative gravel or decorative moss. Now you can control how much water the plant needs. Pour until the water level indicator starts moving. You shouldn't pour more than that because there shouldn't be any water under the pot. Mrs. Joly’s Advice: Recommended method: repotting in a closed plant pot with a water level indicator and volcanic astrat. Repot into a plant pot without a drainage hole. Advantage: modern pots, no chance of water on your floor, you can control the amount of water & solve the reason.
2 Comments
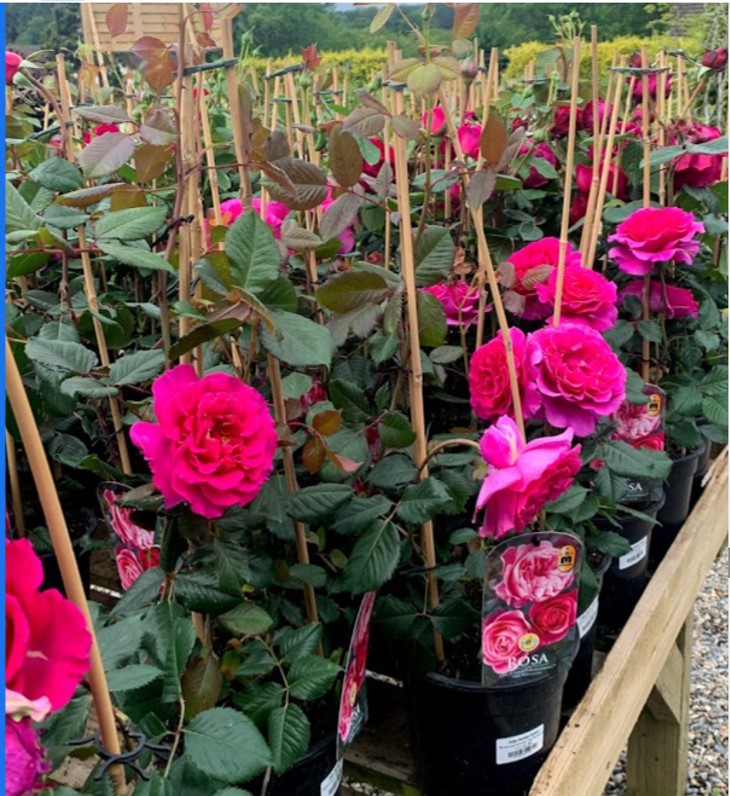
Many people love to grow roses in their gardens but most of them are afraid of pruning. It might seem a difficult job but if you are aware of its basics then pruning won't be an intimidating task for you. In this blog we are going to discuss three easy steps, so you can prune your roses without any difficulty. Why pruning roses is important?Before learning how to prune roses we must be aware of it's benefits. Pruning is a process of trimming and cleaning the plant to make it more productive. We prune roses to remove parts of the plant that we don't want. This helps in better circulation and growth of the plant. This keeps the plant healthy and improves the flowering. Pruning Rose's:Pruning is not as difficult as you think. It might sound daunting but you can excel pruning by doing it more often. Just follow these easy steps and you can easily prune your beautiful rose plant. There are three major things in the entire process: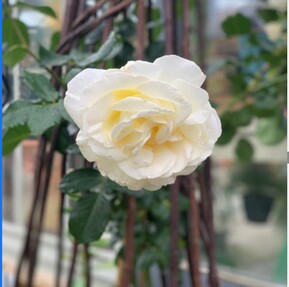
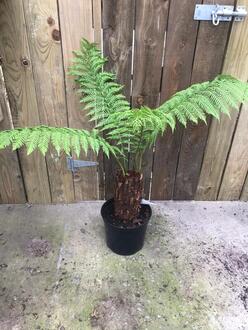
In the first place you should remove all extra leaves. This will be helpful for you in seeing the entire plant without any hindrance. This will also help in removing Pests that might be hiding in the foliage. After removing the remaining leaves, start cutting the dead branches. Roses branches are green, if you can see brown branches in your plant, cut them down. This will help in the better growth of the plant. We need branches that are going upward so we need to take out branches that are crossing each other. By taking them out, the plant will grow upward without crossing branches that might attract Pests and diseases. If you witness any weak growth remove it. So the plant can be healthier and better. After pruning the branches we need prune by cutting out ward growing branches in a direction that will result in the buds growing outward. After completing the entire process make sure to clean the surrounding and underneath area. This cleaning will prevent the plant from pests and other little insects. Roses need fertilizers and nourishment for their perfect growth. If you want them to bloom and look beautiful, you need to take care of their water and food. Mrs. Joly’s Advice:With their feathered fronds, ferns tree are one of the most elegant prehistoric plants. Here we are going to present the extraordinary, evergreen plants with tips to grow and sow the fern tree. The Antarctic tree fern (Dicksonia Antarctica) is native to the mountain forests of eastern Australia, Tasmania and some sub-Antarctic islands. It is one of the slow-growing tree ferns, but can reach a trunk diameter of 40 centimeters and up to six meters high. As already mentioned, the Antarctic tree fern has the greatest frost tolerance of all tree fern species cultivated here in Central Europe. Dicksonia, both golden fern tree and felted pocket fern, can be recognized by its compact shape and dense-looking fronds. It is also one of the slow growing ferns. The New Zealand pocket fern (Dicksonia Squarrosa) develops a slender, tall trunk that is almost black. It forms a strong contrast to the green of the fern leaves, which are between one and two meters long. Grow:Like all ferns, tree ferns can also be propagated by spores that form in spore containers on the underside of the fronds. In order to collect the mature spores, the fronds are cut off. If the fronds are packed in bags, the ripe spores usually fall off by themselves as soon as the fronds dry a little. You can then sow the spores thinly in the sowing soil - for example germ-free white peat - and press them lightly, but not cover them. Place the seed trays in a shady, warm place and always keep them moist. After about four to six weeks, pre-germs form, which over time give rise to young ferns. When the first fronds show up, the little plants can be pricked out. We usually keep tree ferns as potted plants. Bark humus is recommended as a substrate, to which you add coarse-grained components such as lava gravel, expanded clay or gravel for ventilation. From spring to the first light frosts, the plants can remain outdoors, if possible in a partially shaded to shady location protected from the wind. In principle, the following applies: The shadier and cooler the location, the easier it is to achieve constant humidity. Tree ferns are used to high levels of rainfall in their homeland. You should therefore never dry out, whether outdoors or in the winter garden. Not only do you keep the soil moist, the leaves and, above all, the trunk must be regularly showered with water, for example with a garden hose or watering can. This allows the fibrous tissue that surrounds the trunk to soak up water and provide the entire plant with moisture. In summer you should water and spray the tree ferns every two to three days, in winter once a week. From April to September, tree ferns are fertilized with liquid fertilizer every 14 days. Dried up fern fronds can be cut off without hesitation - they will sprout again in the next spring. Mrs. Joly’s Advice:
We will show you how your little ones can find fun and enjoyment in gardening with playful and educational ideas. Children in the garden with watering can:Young people should spend a large part of their time garden in order to develop ideally. Children should play in the country instead of staring at screens, because nature is healthy. Why not get active as little gardeners right away? The little ones get to know the life cycle, take responsibility, make decisions, experience self-efficacy and have a lot of fun at the same time. Gardening with kids:If you want to get your kids excited about gardening, it's a good idea to take a few tips to heart. We will show you everything that is important for the success of your projects: from awakening a love of the garden to child-friendly design and planning your own projects to choosing the right plants, equipment and playful methods. Gardening in front of a flower bed:The desire to grow plants can arise naturally even in the very youngest. They want to imitate their gardening caregivers. Use this learning strategy for children and encourage your offspring to accompany you into the garden. Let your children have their way. The youngsters will declare almost everything they find in the garden to be toys. Which animals populate your garden? Which berries are already ripe? How do they taste unripe? Are there pretty finds like leaves, bark or seeds that can be tinkered with? The foundation for the love of the garden has been laid. 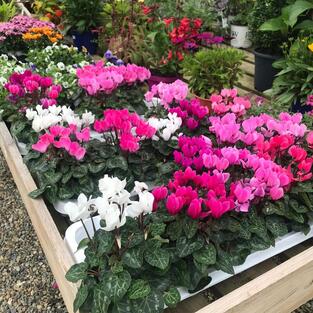 Child-friendly design in the garden With a child-friendly design, you can now do a lot to further encourage gardening pleasure. The favorite activity of children in the garden is harvesting. So make sure there is something to harvest. In addition, children will spend longer and prefer to stay in the garden if they have their own hiding place. It is advisable to avoid very prickly and poisonous plants . Of course, you should also refrain from using toxic pesticides. The first own garden project As soon as the child wants to "do" everything by himself, the right time has come for the next step: planning his own project. Include the little ones in the preparations right from the start so that they can make the green “theirs”. Co-determination is an important factor in maintaining interest in planting in the long term. Flower pots & watering can: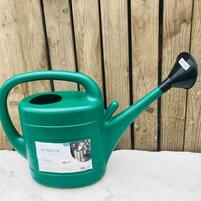 Create a wish list together. Which herbs does your child particularly like? Which fruit, which vegetables? Which flowers? Is there something that is easy to care for, such as radishes or chives? Here we introduce species that are good for gardening with children and quickly promise first experiences of success. But don't overdo yourself. Start with one or two different species and a few small plants that will be entrusted to child care. One to two square meters is sufficient to start with. A self-made colorful design can make the new task and responsibility visible even before it germinates. Your child will be proud! If you are planning a balcony or indoor project, paint the pots together and make room on the windowsill. Projects that require a little patience - like sprouting an avocado seed - can also be very impressive. The ideal plants for gardening with children:Plants for children are supposed to serve very different purposes. They can be grown for their tasty fruits or for their high ornamental value. Children understand their environment with all their senses, perhaps they cultivate one or the other plant because of their interesting haptic properties. Others smell particularly aromatic or attract animals, which can be observed wonderfully. Whichever you choose, the following rule of thumb applies: All children's plants should be easy to cultivate, non-toxic and robust. Year-round gardening with children:Motivating children always works best with a helping of games, a pinch of humor and a handful of experimentation. Even in the cold season or when no garden or balcony is available, beautiful gardening projects can be realized.
From " re-growing " the re-cultivation of vegetable cuttings - to the design of a garden for animals, keeping old customs around the garden alive, telling gardening stories, drawing with vegetable colors to processing the harvest into beautiful gifts. The humble carrot can be used so much in our kitchen. Carrots can be enjoyed both cooked & raw. They add sweetness and crunch to a salad,roast carrots with your Sunday dinner are heavenly & carrot cake is one of our favourites. So let get carrots in the garden. Carrots are available in loads of shapes and colours other than the well known orange, long narrow one. Keep an eye out for round carrots, they also come in different colours. They can come in yellow, purple and even red. How to growing, they can be grown in containers if space is an issue. An extra bonus is they freeze and are easily stored. Let Grow So we're ready to grow and sow our carrots. Carrots grow best in open ground, with short-rooted types suitable for growing in containers or growing bags. Drought resistant, carrots seldom need water, but in dry spells, they will benefit from a soaking. Fast growing weeds can crowd out carrots, so hand weed between rows. Be careful when weeding or thinning that you don’t crush the foliage, as the smell attracts carrot fly. Cover with fleece tunnels or erect barriers to prevent these pests flying in and laying eggs. Sow To Carrots require an open, sunny site and fertile well-drained soil. If your soil is stony, shallow or heavy clay, you may end up with stunted or forked carrots, so try short-rooted types. These also suit containers. Early cultivars can be sown in February or March under cloches or with similar protection. The main outdoor sowing season is from April to early July. Seed packets will state whether the cultivar is an early or maincrop type. Sow 1cm (½in) deep in rows 15cm-30cm (6-12in) apart. By sowing thinly you can avoid thinning out. Aim for plants 5-7.5cm (2-3in) apart. Thin if needed at the seedling stage. Mrs. Joly's Advice & Notes:
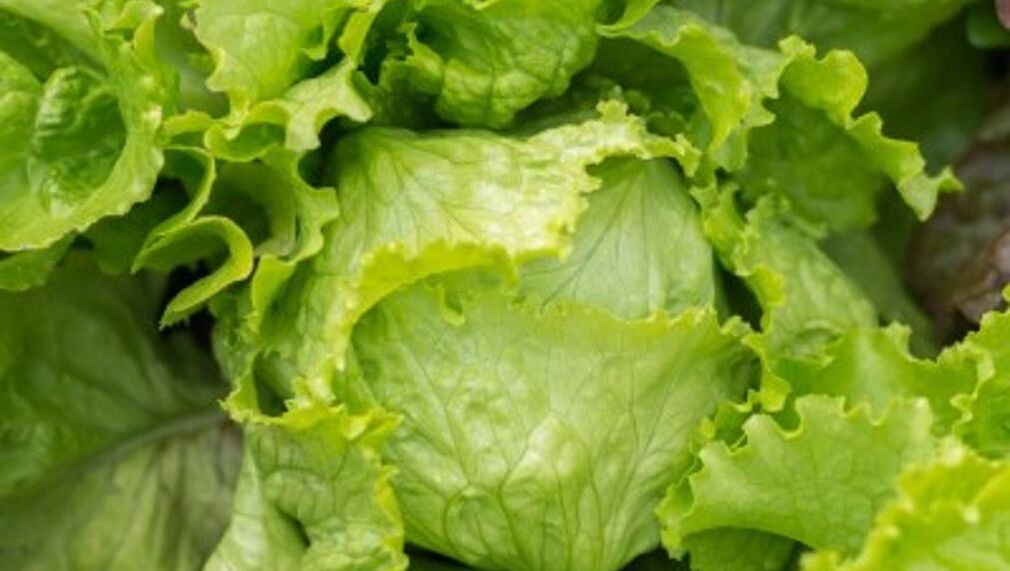
Carrots can go green on top if left exposed to the light. We recommend to cover over any exposed tops with extra soil. If your soil isn't great, stony or shallow, try growing the short-rooted Chantenay. If your soil is really poor try growing in containers or an elevated bedding table. Drop into our Garden Centre to get advice off our experts on how to grow your perfect Salad and Garden, What's better than making your own side salad to accompany your main dish or as a quick and tasty lunch. The first thing we recommend is choosing the right varieties for you, plus you'll get to have fresh lettuce almost all year round! Always a win! There are so many types of lettuce, all with different coloured leaves, textures and flavours. Your homemade salad never needs be boring. There are two main types of lettuce. We have the hearting lettuces, that you guessed it.. have a dense hearty centre and there is also loose-leaf lettuces have open leaves and no heart . Let's Grow : So we're ready to sow & grow our lettuces. It is recommended to grow your lettuce in full sun and in moisture-retentive soil. Depending on early or late sowing will probably need extra protection against cold. You can use cloches, poly-tunnels or a garden fleece tunnel. All these types of protection will be available at our garden centre & our online shop. So lets talk types of lettuce, first up: Cos Cos type lettuces grow upright . Cos lettuce also known as "Romaine Lettuce" it grows in a long head of sturdy leaves with a firm rib down the centre. Butterhead Butterhead aka Boston Bibb forms loose heads. It's leaves have a tasty buttery texture. Butterhead type lettuces grow quickly and can handle poorer growing conditions. Crisphead Crisphead type lettuces have large hearts of tightly overlapped, crisp leaves and are more resistant to going to seed early. Sometimes also known as 'cabbagehead' lettuce. Looseleaf Looseleaf types of lettuce are delicate, tender and mildly flavoured. Perfect for a summer salad. Don't have a garden? You can also grow lettuces in growbags or containers – follow the sowing timings and spacing & your ready to go. (Apartment living doesn't mean no Veggies!) Sow
Time of sowing : For a summer/autumn crop:
Mrs Joly's Advice & Notes : In the summer we can have higher soil temperatures and this can prevent some cultivars from germinating & growing . Top Tips :
|
AuthorMeet Mrs. Joly our in House Gardening Expert. Archives
October 2020
Categories |
Follow Us on Instagram @jolysgardencentre |
Phone |
|
COPYRIGHT © 2022 Jolys Garden Center







 RSS Feed
